All posts by Pete Soper

SPARKcon coming real soon now!

SPARKcon is an interdisciplinary creativity, art & design festival produced by the non-profit creativity incubator, Visual Art Exchange, in Raleigh NC.  SPARKcon 2014 will be the 9th annual event and happens Sept. 11-14 in downtown Raleigh.
 
 
geekSPARK is a showcase for the creative use of new and interactive media and technology in the local community.  Whether in the form of a large video game studio, or a solitary multidisciplinary genius, The Triangle is filled with people blending art with technology, creative ideas with technical know-how. Our goal is to bring more of these people together, and to provide a venue to promote their emerging work. There will also be 3D printers and other fun stuff.

Latest Amp Hour: SDR meets RADAR

This week on The Amp Hour Chris Gammel’s guests are Michael Ossman, the guy behind a (cheaper, simpler than previous, highly capable) software defined radio system and Greg Charvat, the guy behind a coffee can-based synthetic aperture radar system that uses your PC’s “sound card”. One of the most easy on the ears, friendly and interesting sharing between techies I’ve listened to in a good while.  For those interested in learning about SDR Michael has started a tutorial series.

T-962 Reflow Oven Vent Setup and Editorial


SAMSUNG CAMERA PICTURES

This house used to have a wood stove in the basement and for years I’ve been using the vent to get coax to the roof-mounted TV antennas, but now it’s got a serious 240v fan jammed in it for a fully kludgephonic reflow oven vent.

Now I just need to find or make a fume hood that can properly handle the huge exhaust flow out the bottom of the oven when it’s in “cooling” mode. Whatever I end up with will be fully enclosed (maybe a plastic “flap” or door on the front) except for an inlet air arrangement that I haven’t thought through yet. Maybe holes in the table top below the oven and yet another vent hose that comes from “someplace” where I can get air so there’s little chance of fumes coming out that hose?

Please don’t leave a comment about masking tape inside the oven. It isn’t “tape fumes” I’m arranging to avoid.


Making Component Markings Readable


SAMSUNG CAMERA PICTURES

Here is a fast way to make IC part numbers easy to read (follow this link, then click on “Dicas práticas em eletrônica“).  Thank you Luciano Sturaro!!

This is translated to English with larger graphics in the Stack Exchange Q&A below. However it’s this easy:

  1. Clean the IC surface with alcohol and let it dry
  2. Rub chalk on it
  3. Gently wipe the IC surface

Electronics Stack Exchange Q&A

Update: Reality Bites

Of the few dozens of different chips I’ve tried this chalk trick on in the past few days I’ve found that maybe 15{13079d06258ef9010cea88dee32f3cdfc6f216a54651010f7303ce6140ee927c} are nearly immune to it.

Ready for Kicad!!

At the TriEmbed meeting this coming Monday I’ll be asking if others are interested in joining a systematic self-study of Kicad.

I knew I’d be driven to this sooner or later, but the future is now, as they say. I’m working on a combination clock calibrator and frequency counter and find the design process dominated by the challenge of fitting the silly thing into a single Eagle schematic sheet.

The current rough cut of the circuit building blocks is the super-compressed schematic toward the bottom of the project page. This hodge podge of schematic symbols jammed together make it clear that the free version of Eagle is not up to expressing a system this large and complex. (Correction: I have a license for non-educational use, but just the cheap one that has the same size constraints as the free version.)

Update: A “Kicad Study Group” page has been added and at least a half dozen folks expressed interest in taking part.

Update: Nobody’s missed anything, time’s just run short this month.

Friends Don’t Let Friends Buy P-poor Atmega328 chips

Many Arduinos are based on the Atmega 328 P chip. Note that P. If you buy raw chips be sure the P is present. When you look up “Atmega328” at a site like Digikey the P and non-P versions are side by side and you might just go for the cheaper one without noticing the difference. You will be sucking persimmons if you’re missing the  P. I am now a relative and reluctant expert about working around missing Ps. One might say I’m P‘ing into a pot with information I wish I didn’t have. Actually, it was many months ago that I accidentally bought some P-challenged Atmega328 chips. But it was only today that I realized I was down to the bottom of the barrel and forced to replace a P with a non-P in an Arduino Uno, and that situation can best be spelled PO.

THIS CHIP BELOW IS THE Atmega328P YOU WANT: SAMSUNG CAMERA PICTURES

THIS CHIP ABOVE IS THE Atmega328 CHIP YOU DO NOT WANT. Notice how you can’t read the markings? That’s an accidental hint about which is the correct part, but also indicative of the apparent conspiracy the chip makers are involved in to make sure non-machines (i.e. us) can’t read the markings in ordinary conditions. Both chips were close to flat, but the bottom one was obviously not flat (or tilted with respect to the light source) enough!!!

Postscript: Making a 328 chip run in an Uno is a total Pain. I should probably document that some place to save the next person some trouble. However once it’s done the fact that it’s the “wrong chip” is no longer visible if you’re using the bootloader to program it.

Tweak to Tim Marston’s make file for Attiny chips

For those using Linux or something functionally equivalent for “Arduino development”, Tim Marston’s Arduino make file makes a wonderful tool. Apart from saving lots of mouse movements, using this make file in combination with the AVR tools and Arduino libraries is drastically faster. You have to see the difference to believe it could have been possible to make the Arduino IDE look so dog slow.

Anyway I wanted to share one detail to save others grief if/when they use this tool with Attiny chips. The make file passes “-D” to avrdude, and that won’t fly with chips like the Attiny84A that need a chip erase cycle if you also want avrdude to verify the bytes it’s programmed.  Here is the problematic line:

AVRDUDEFLAGS  += $(addprefix -C , $(AVRDUDECONF)) -D

My quick hack was to use one of my (Bourne/Bash shell) scripts to determine if I’m programming one particular chip vs another (by reading its signature) and then pass the appropriate switch in for avrdude. So my make file looks like this:

AVRDUDEFLAGS  += $(addprefix -C , $(AVRDUDECONF) $(CHIP_ERASE)

And then when I invoke the make command I’ll use something like this:

make blah blah CHIP_ERASE=$ERASE blah blah upload

Then my script sets ERASE to “-D” or “” depending on the chip type.

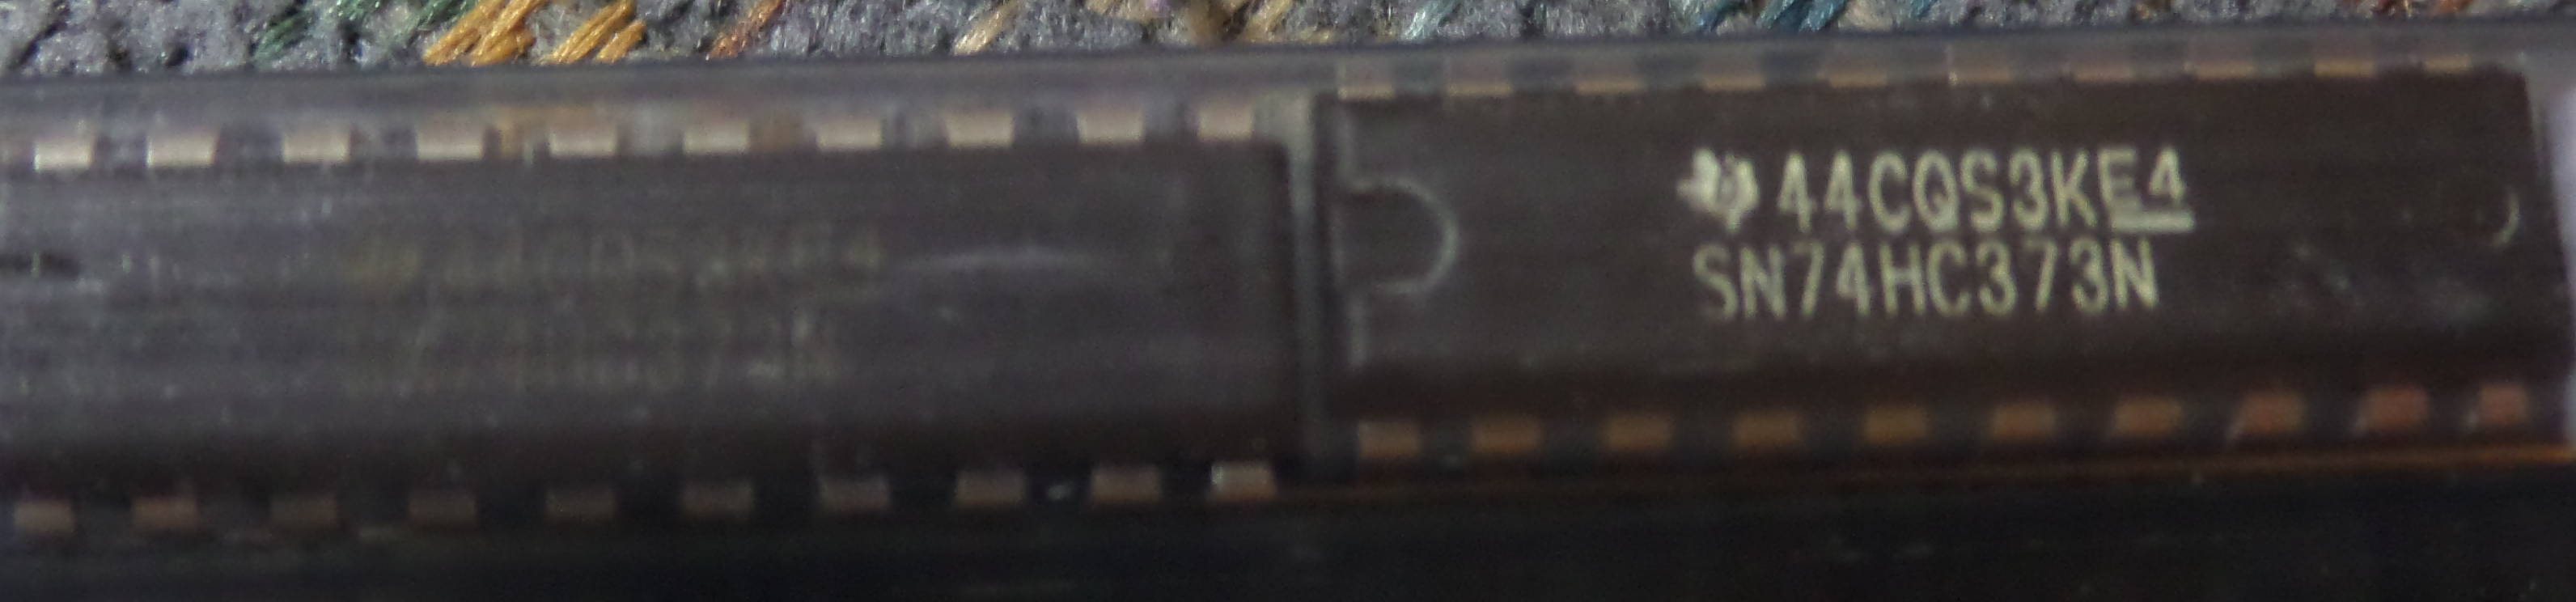
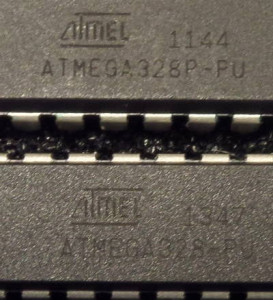
Consult your specific AVR chip’s data sheet to determine whether it can get along without a chip erase cycle (e.g. like the Atmega 328p).

Addendum: The avrdude “-e” option can be appended and it will override -D and force an erase. So if the last AVRDUDEFLAGS assignment has the $(ERASE) reference the sense can be flipped and it becomes less confusing, and you just need to feed in a “-e” for the chips like Attiny that lack page erase.

Also, I forgot I’d removed the “-V” switch from Tim’s make file and this of course suppresses verification. So if you’re reading this Tim, I can understand why you might have been scratching your head.

Finally, one might assert that  the “-e” can trivially be appended with something like this:

make -f arduino.mk blah blah AVRDUDEFLAGS=”-e”

Except this doesn’t work as documented in the make file comments. That is, if you try to do this you end up with the “-e” replacing ALL the avrdude flags: the append operations in the make file are trumped by the command line assignment. Maybe I’m missing a make flag that changes the variable assignment semantics? Don’t know, but I’ll try to return to this later and maybe develop a patch to incorporate automation features to guess a programmer to use and chip to program.

Murphy’s Law of PCB CAD

I’m putting together some logic chips to make a couple of precision timing tools as part of a clock calibration project. The FIRST old TI chip I go to add to a new schematic in Eagle has no library support. If I had a nickle for every time this has happened… So I search for it and here’s the one hit at Element14:

“Hey, I’m a new user here, and pretty new to using Eagle Cad. I am looking for a dual 16 bit counter, and the chip that I’ve been using in my lab, and am using Eagle Cad to make a schematic.

Is there any library that includes the chip? Or is there any good alternative inside the existing Eagle Cad libraries?

74LV8154 is the chip I’m using, datasheet: http://www.ti.com/product/sn74lv8154-ep

Thanks! <name omitted>

This is followed by one reply:

Hi,

if you are new to EAGLE, it’s a good point to start your training by

creating your own library. You will have to learn it anyway in the long run.

 Best Regards, <omitted>

Folks, here is my reply to this: There will soon be an Eagle library item for this chip. I’ll gladly mail it to you after you deposit $100 in my Paypal account. Consider this extra special motivation for you to fully enjoy the learning experience of making your own component file as a cheaper option that will enrich your life and improve your character.

Sheesh. But seriously, it might eventually be worthwhile to create TriEmbed libraries. I have a handful of custom component descriptions that I trust and would be comfortable sharing. The additional value of this is that we might get feedback about how to improve them.